OneLake is a unified data lake included with every Microsoft Fabric tenant, designed to handle large volumes of data from various sources. It serves as a central hub for all your analytics data, ensuring one accessible copy for multiple analytical engines. This setup enhances collaboration and reduces management overhead by eliminating the need for multiple data lakes. With Microsoft Fabric, every tenant automatically gets a single OneLake, simplifying setup and management.
Connecting to OneLake using Azure Storage Explorer allows you to easily manage your data lake storage, including uploading, downloading, and deleting files. This guide will walk you through the steps to connect to OneLake using Azure Storage Explorer.
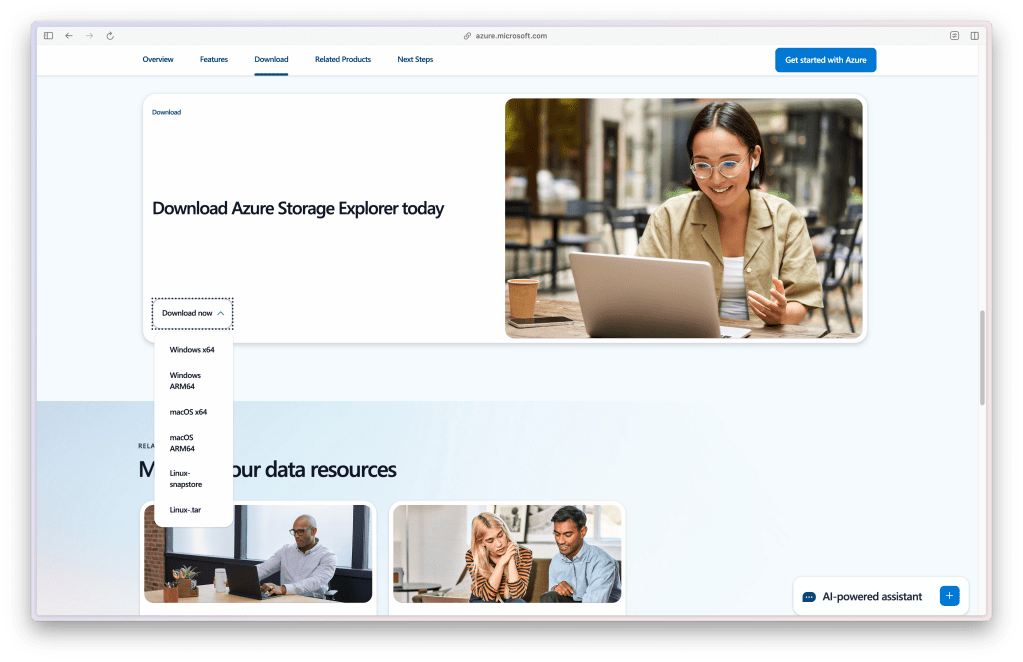
Step 1: Download and Install Azure Storage Explorer
If you haven’t already, download and install Azure Storage Explorer from the official Microsoft website. This tool provides a graphical interface for managing Azure Storage accounts, including OneLake. You can download it here.
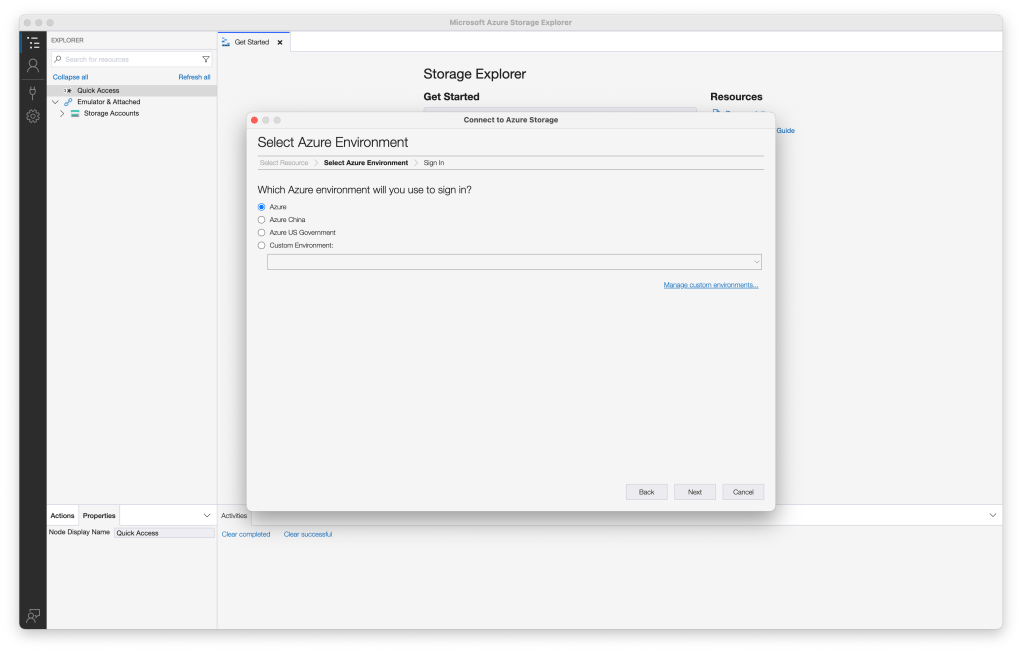
Step 2: Open Azure Storage Explorer and Sign In
Open Azure Storage Explorer and sign in with your Microsoft account. You will need to select the sign-in with Azure option.

Select Azure and click next.
Your bowser window will open. Sign in with your Microsoft account.
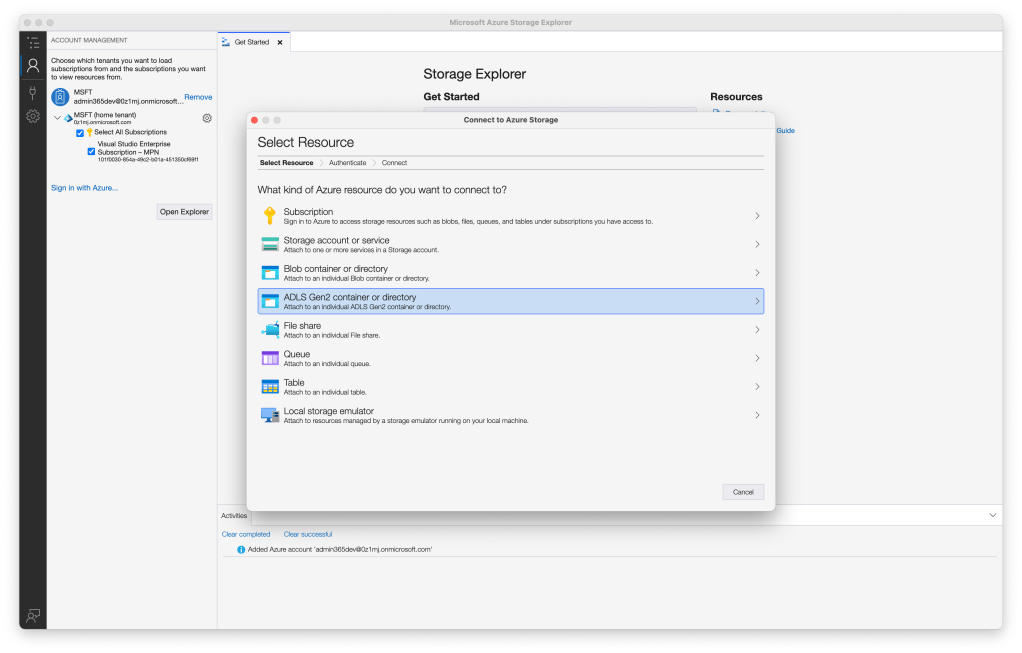
Step 3: Attach to a resource
Navigate back to Azure Storage Explorer and click on the Attach to a resource option
Select Azure and click next.

Click on the ADLS Gen2 container or directory.
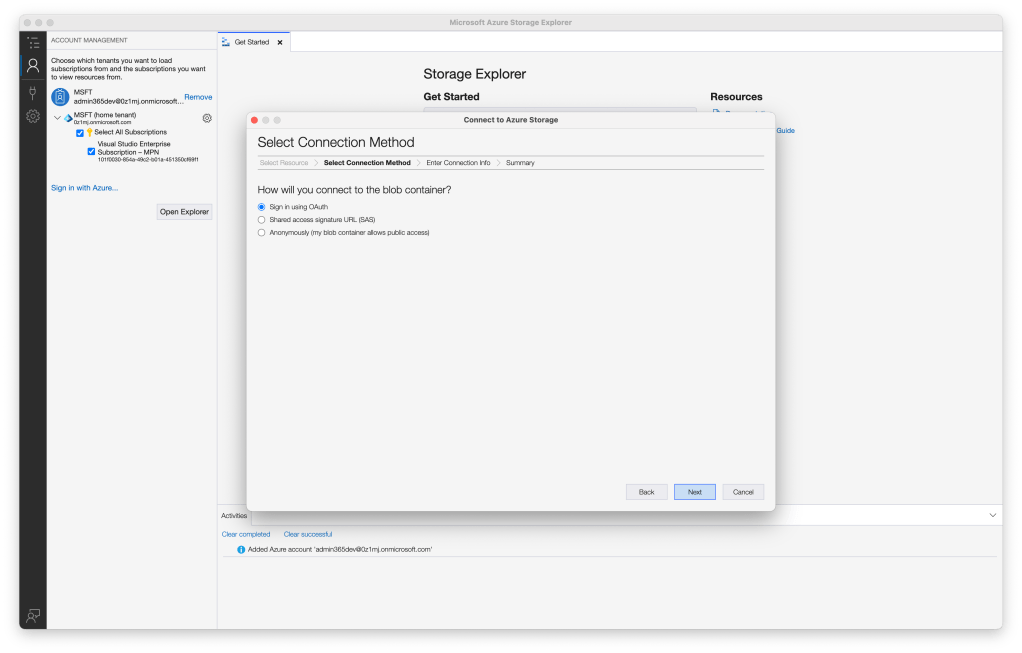
Sign-in using OAuth and click next
Select your account and click next
Give a dipslay name and find your OneDrive URL

Step 4: Navigate to Your Workspace
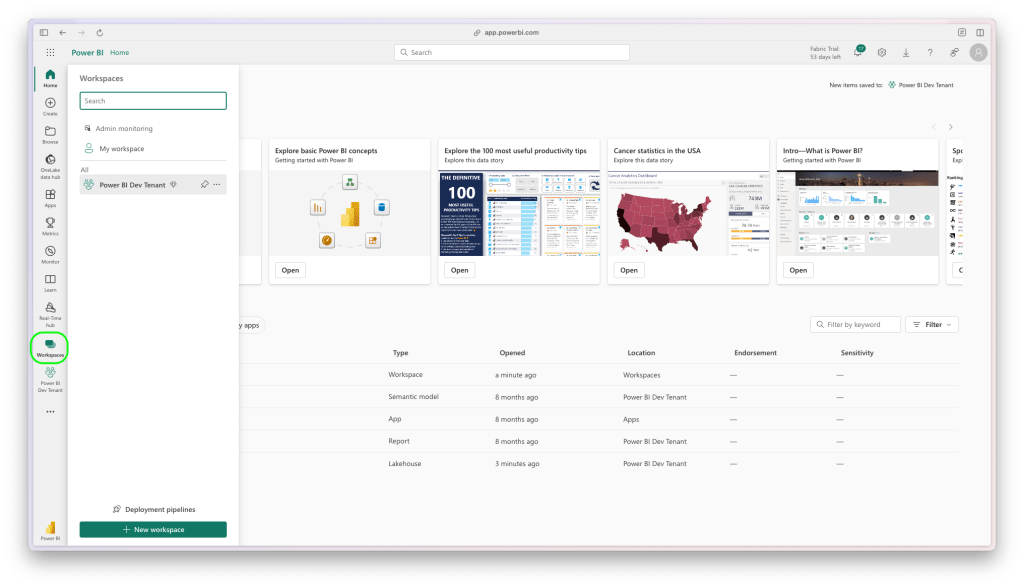
Step 5: Select Your Lakehouse
In the workspace, click on your Lakehouse.

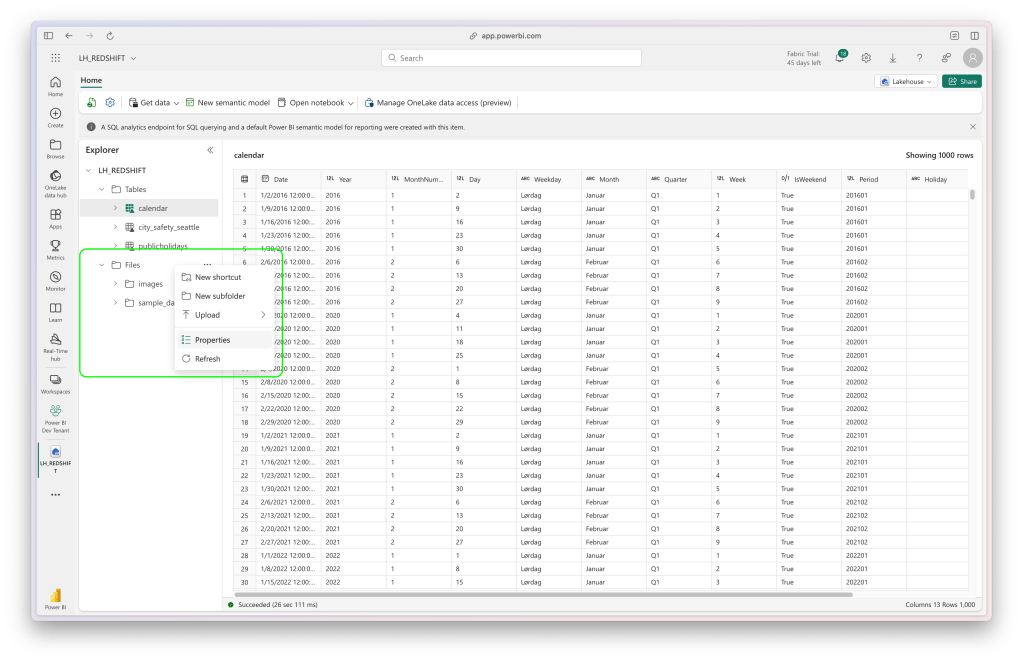
Step 6: Navigate to your files properties
Righ-click on the Files-folder in the Lakehouse explorer and select properties.
Step 7: Copy the URL
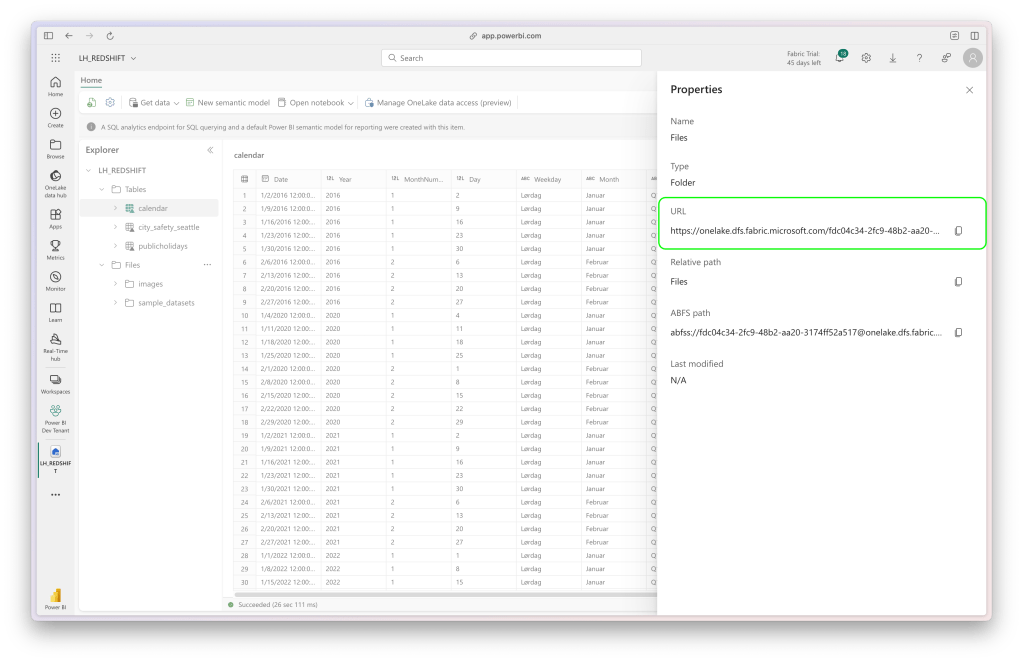
Step 8: Paste the URL in the Azure Storage Explorer and Connect
You have successfully connected to OneLake using Azure Storage Explorer. You can now manage your data lake storage efficiently and effectively.
Have a great day!

